Chipped Tile Repair Services for Property Owners
Visitors will learn about local contractors who specialize in chipped tile repair and how to compare their services.
- - Residential homeowners seeking to repair chipped tiles in kitchens, bathrooms, or entryways.
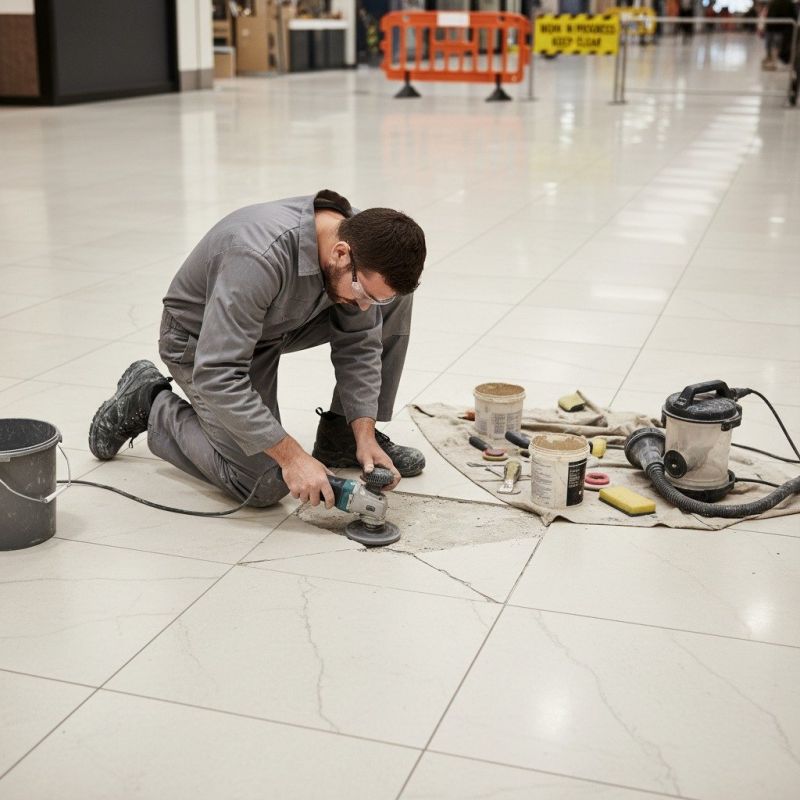
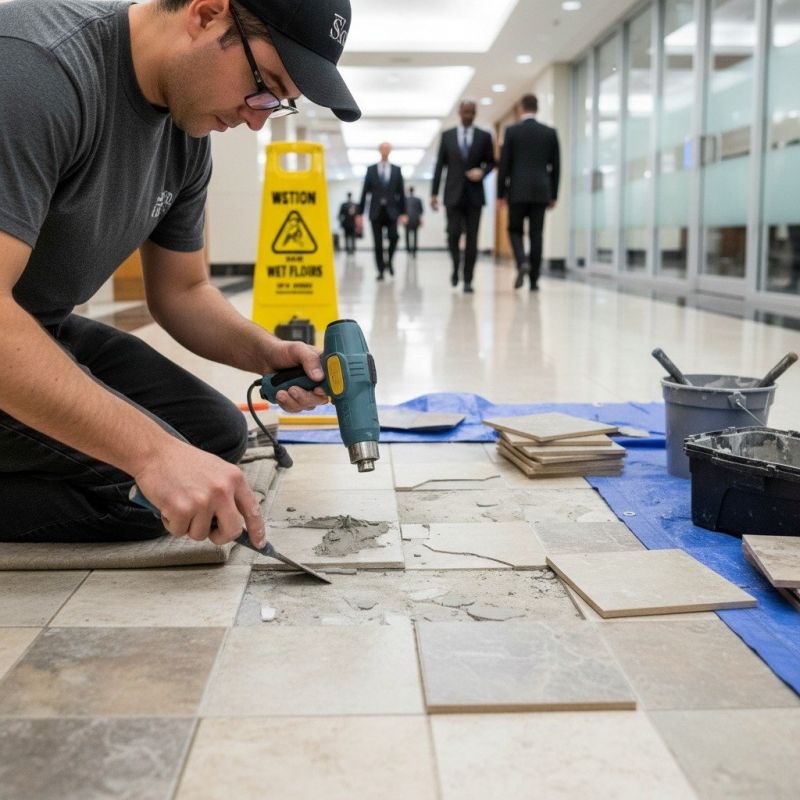
- - Commercial property managers needing to restore tiled surfaces in offices, retail spaces, or public areas.
- - Contractors and handymen looking to connect with local tile repair specialists for ongoing or project-based work.
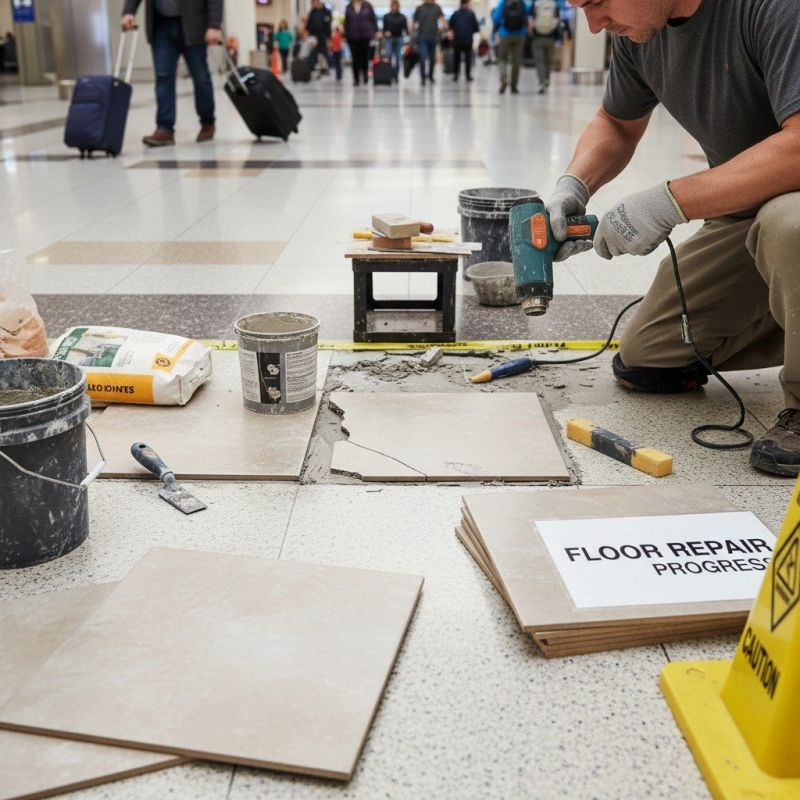
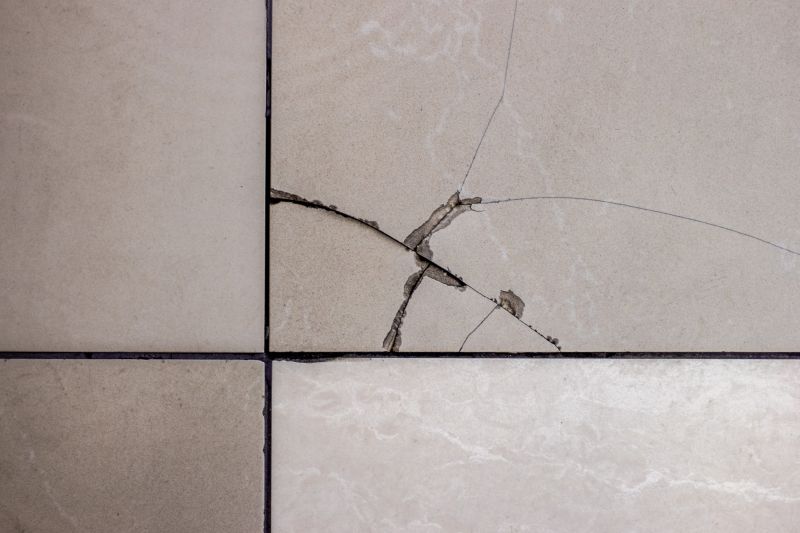
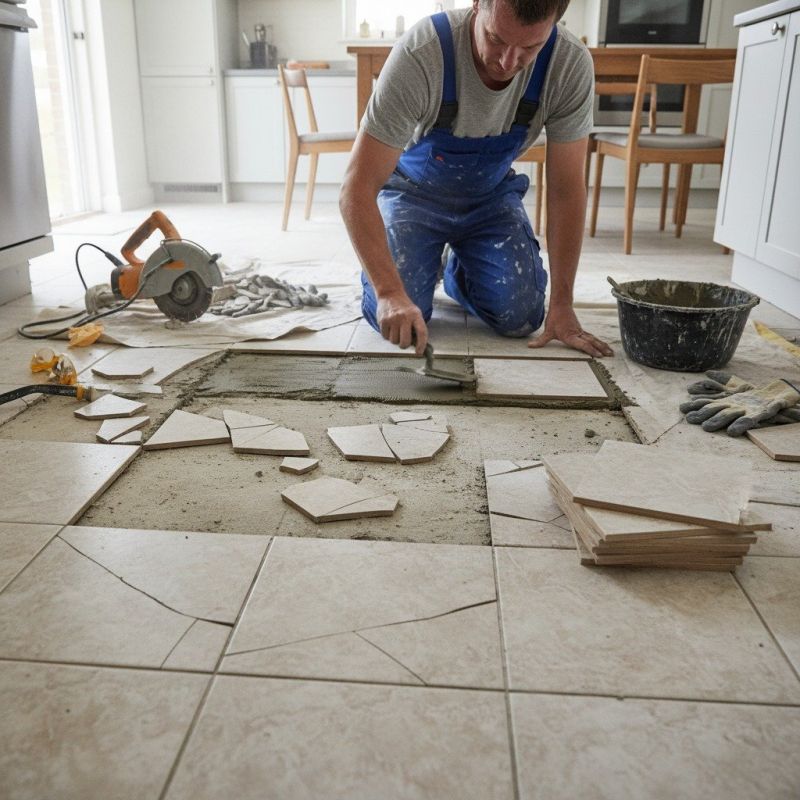
Chipped tile repair is a common issue faced by property owners looking to restore the appearance and integrity of their tiled surfaces. When tiles become cracked, chipped, or damaged, it can affect both the aesthetic appeal and functionality of areas such as kitchens, bathrooms, or flooring. Local contractors who specialize in tile repair typically assess the extent of the damage, match grout colors, and carefully restore or replace chipped tiles to blend seamlessly with surrounding surfaces. Property owners often seek out these professionals to address visible damage and prevent further deterioration.
Connecting with experienced local service providers can ensure that chipped tile repairs are handled efficiently and effectively. These professionals bring knowledge of different tile materials and repair techniques, helping clients choose the best approach for their specific situation. Whether dealing with minor chips or more extensive damage, property owners can expect local contractors to provide practical solutions that restore the look of their tiled areas. This service makes it easier to find qualified experts who can deliver quality results tailored to individual needs.
This guide provides helpful information to understand chipped tile repair and what to consider when comparing local service providers. It assists in identifying the types of repairs needed and prepares you to share essential details with nearby contractors. By using this resource, you can better navigate your options and connect with qualified local professionals.